
This article is relevant for: All subscriptions
You can now choose the integration platform you'd like to use for customer engagement and email marketing directly from the web application. Simply add your API key through the Settings page, and you’ll be able to select the integration during data export.
How to connect the integration
-
Go to Settings → System Settings.
-
In the Integrations section, click Manage Integration.

-
A modal will appear where you can choose your integration provider — either Starmate or Brevo.
-
Enter the respective API key, which you can obtain from the chosen platform.
-
If you select Starmate, you must also provide a Madator (used to identify the tenant making the request).
-
-
Click Save to finalize the integration.

Viewing & Managing Saved Integrations
All saved integrations are displayed in a separate section within the same modal. Each integration is automatically named to reflect the provider and the timestamp of creation. For security, only the last four digits of your API key will be shown. You can delete any integration at any time by clicking the delete icon beside it.
Using Saved Integrations
Saved integrations can be used in two products of the web application:
-
Sentinel – when exporting Customer Outcome results
-
Backhaul – when exporting customer results for individual Taste Clusters
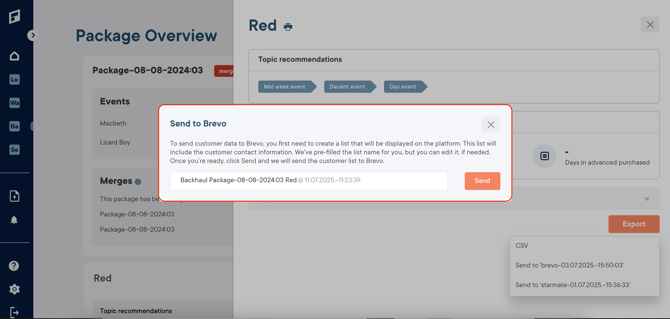
During export, you’ll see your saved integrations listed. Selecting one opens an overlay to add a list name. A default list name is provided, but you can customize it. List help group contacts for easier recognition on external platforms. Once you're ready, click Send — your list will be exported to the selected integration.
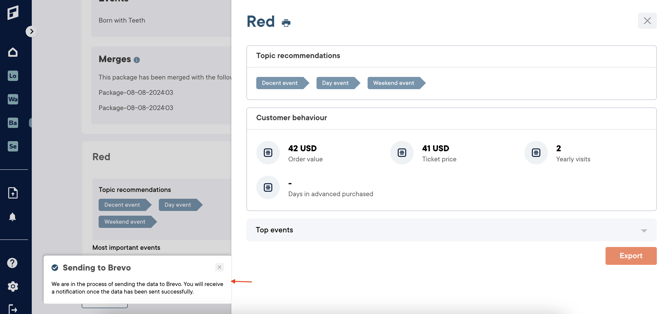
Note: The export process may take a few moments. You’ll receive a notification once it's complete. If exporting the data fails due to validation errors or unmatched customer entries, you’ll be notified accordingly.
Integration behavior for Brevo users
-
If the API key is dedicated to Future Demand, or is being used with Future Demand for the first time (and was not linked to any other service), it will work as expected.
-
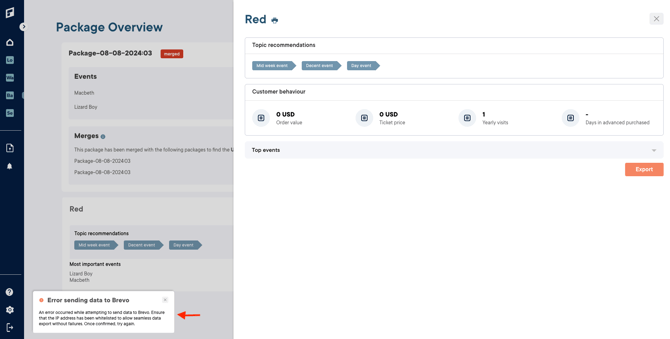
However, if Future Demand IP address changes after the key is saved, then:
-
An error notification will appear in the bottom-left corner of the web application.
-
Brevo will also send a separate notification.
-
To resolve this issue, you must whitelist the IP address provided by Brevo and then retry the export from Sentinel or Backhaul.
-
Note: In cases where only some customers were processed successfully while others failed, the notification will include an option to download a list of the customers that couldn’t be matched or processed.
How to manually whitelist IP address on Brevo
-
Log into your Brevo account
-
Go to your profile (top right) → Security → Authorized IPs
-
Click ‘Add authorised IP address’
-
Enter an IP and click add to confirm